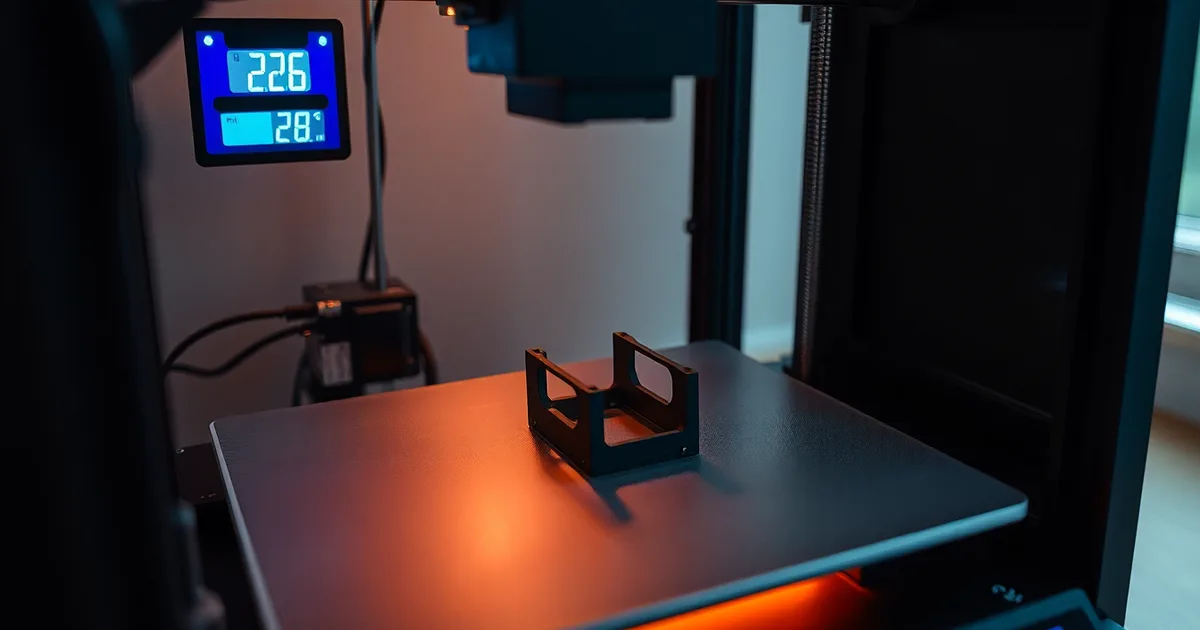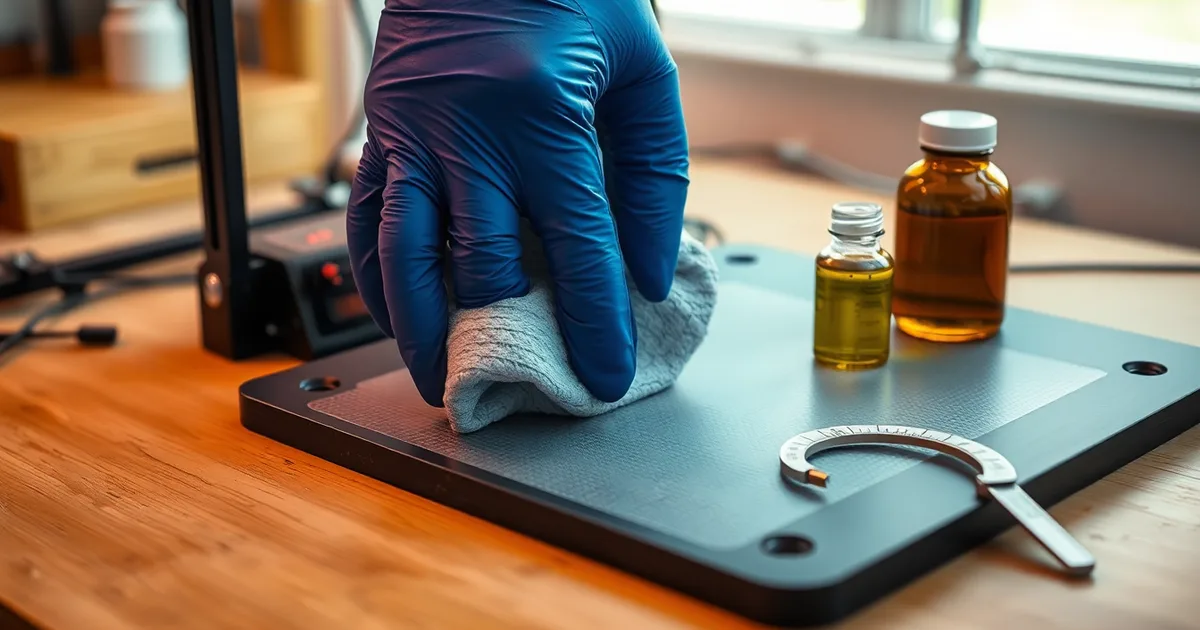
First-layer failure on textured PEI is almost always a surface-energy problem, not a worn sheet. Clean the plate with 90% or higher isopropyl alcohol and a lint-free cloth first. If adhesion still drops, re-check first-layer height and confirm your PETG bed sits at 70–80 °C.
A textured PEI sheet that has worked for months does not fail overnight because the coating gave up. It fails because something changed in the interface between plastic and plate. Usually that something is you: a thumbprint laid down while peeling off the last print leaves a film of skin oil that raises the contact angle enough to kill the bond. The same failure appears when the texture peaks have flattened, but that takes real mileage.
How much mileage? Roughly 300 to 600 print cycles before effective grip drops, and only once the peaks are compressed by about 0.05 mm. If your sheet is six months old and you print a few times a week, you are nowhere near that number. If you run a small farm with plates cycling daily, you might be.
The step that trips people up is Z-offset. A piece of paper is a blunt instrument here: standard paper runs around 0.1 mm, and a business card is 0.2–0.3 mm, which is two to three times the first-layer height you are actually trying to set. You cannot dial in a 0.1 mm layer with a 0.3 mm feeler gauge. Numbers that shock hobbyists tend to be temperature ones instead — PETG below 65 °C on textured PEI will simply lift, no matter how clean the plate is.
- Start with alcohol strength: Use 90% or higher isopropyl alcohol on textured PEI — 70% IPA leaves water behind and can smear oils rather than lift them.
- PETG needs heat: Reliable first-layer adhesion for PETG on textured PEI requires a bed at 70–80 °C; below 65 °C the part lifts regardless of surface prep.
- Paper lies about Z: A standard business card measures 0.2–0.3 mm, too coarse for setting a 0.1 mm first layer, so verify offset with a gauge or a live first-layer print.
- Texture has a lifespan: Effective grip falls off once texture peaks flatten by roughly 0.05 mm, typically somewhere between 300 and 600 print cycles.
- Replacement is last: Swap the sheet only when the texture depth is visibly flattened under raking light — most adhesion loss traces back to oils, offset or temperature.
What actually makes a textured PEI sheet stop holding?
A textured PEI sheet grips in two ways at once. The grit-blasted surface is a field of microscopic peaks and valleys, so molten polymer flows in, cools, and shrinks around those peaks — mechanical keying. At the same time, the polymer chains sit close enough to the polyetherimide to feel van der Waals attraction across the contact points. There is no adhesive layer and no chemical bond doing the work, which is why the sheet can hold a 90 mm wide PETG bracket for eleven hours and still release it with a flex once the bed drops below 40 °C. Every failure mode below breaks one of those two mechanisms, and none of them involve the PEI itself degrading on schedule.
The most common culprit is your hands. Skin oils and the plasticisers in them are low-surface-energy contaminants, meaning they spread across the texture far more readily than the high-surface-energy PEI underneath. A single fingerprint on a 250 × 210 mm sheet covers maybe 0.5% of the build area, but it drops contact angle in that patch enough that both keying and van der Waals forces collapse locally. Prints lift from that spot and peel back — you get one curled corner on a part that printed fine last Tuesday. Wiping with 70% IPA makes it worse, not better, because the 30% water flashes off unevenly and leaves the oil redistributed as a thin film. Use 90%+ IPA, or better, a small amount of dish soap and hot water followed by an IPA pass, and handle the sheet by its edges from then on.
Ranking the four causes
Across community troubleshooting logs compiled through 2026, the split looks roughly like this: oils account for about 60% of adhesion loss on textured PEI, worn texture about 20%, wrong first-layer height about 15%, and bed temperature too low for the filament about 5%. The order matters because the fixes cost wildly different amounts of time. An IPA wash takes ninety seconds. Checking Z-offset with a 0.10 mm feeler gauge takes five minutes. Replacing a sheet costs money and a re-level. Temperature tuning is last because it is almost always the wrong diagnosis when a sheet that held PETG at 75 °C for months suddenly stops. Two exceptions where temperature really is the problem: you switched to a filament with a higher glass transition, or your bed thermistor has drifted and the real surface temperature is 15 °C below what the display claims.
Worn texture announces itself differently. Manufacturer estimates put textured PEI lifespan at 300–600 prints before adhesion shifts, and field measurement shows it as roughly 0.05 mm of peak height lost — enough that the deep valleys you relied on are now shallow scratches. Prints on a worn sheet still stick at the perimeter and release under load at the centre, which is the inverse of an oil-contaminated sheet. If you are past 400 prints and IPA stops helping, the sheet is the answer, not the printer. Wrong first-layer height is the sneakier one: everyone assumes a paper test is close enough, but 0.2 mm is the target for a 0.4 mm nozzle, and being 0.05 mm high cuts contact area by a third without any obvious visual cue.
How do I tell fingerprint oils from a worn sheet?
Run this before you order anything. It takes five minutes of hands-on time and one short print, and it separates the two causes that account for most textured PEI failures: contamination on the surface and physical wear of the texture itself. You need 90%+ isopropyl alcohol (nothing labelled "70% rubbing alcohol" — the water fraction is too high to dissolve skin oils reliably), a lint-free cloth or clean microfiber, and a slicer profile you already trust.
The reason this test works is that oil and wear fail differently. Oil sits on top of the texture and blocks contact in patches, so adhesion varies across the plate. Wear removes the peaks that generate grip, so adhesion drops evenly everywhere. A single print with half the sheet clean exposes that difference immediately.
- Wipe down the sheet with a dry lint-free cloth to remove dust and any loose filament fragments. Ten seconds. Do not skip this — IPA over debris just smears it around.
- Divide the sheet down the middle with a piece of painter's tape or a sharpie mark on the edge. Left half gets cleaned; right half does not.
- Fold a clean lint-free cloth into a pad, wet it with 90%+ IPA until it is damp but not dripping, and wipe the left half in one direction with light pressure. Two passes, roughly 15 seconds. Let it flash off for 30 seconds — the surface should look uniformly matte, with no shiny streaks.
- Do not touch the cleaned half with bare fingers, and do not let the cloth drag back across the dirty half. This is the step people botch. One fingerprint on a 60 °C plate deposits enough sebum to kill adhesion in a 20 mm circle, and the test then reads as "cleaning didn't help." Handle the sheet by the edges only from here on.
- Slice a 50 mm x 50 mm single-layer patch, 0.2 mm first-layer height for a standard 0.4 mm nozzle, and place two copies on the plate — one centred on each half. Use the same material and profile you have been failing with. PLA wants 55–65 °C bed temperature, PETG wants 70–80 °C. Print it. Expect under four minutes.
- Read the result while the plate is still warm, before it fully cools. Cleaned half holds, uncleaned half lifts or shows gaps at the edges: the cause is oils. Both halves hold: your problem is elsewhere — check Z-offset before anything else. Both halves fail identically: go to step 7.
- Inspect the texture under raking light — hold a phone torch at roughly 15–20 degrees to the surface and look across it, not down at it. Intact textured PEI shows a dense, uniform field of raised peaks with visible shadowing between them. Flattened or polished-looking regions, especially in the centre where most prints land, mean the peaks have worn down.
- Rule out wear by touch and by history. If the surface feels smooth or glossy rather than like fine sandpaper, or the sheet has somewhere between 300 and 600 prints on it, replace it. Field measurements put texture depth loss of about 0.05 mm as the point where grip collapses — you cannot measure that by eye, but you can feel it.
The failure mode of this diagnostic is a false "worn sheet" verdict caused by insufficient IPA contact time on a cold plate. Wiping a room-temperature sheet with a damp cloth and immediately printing gives inconsistent results, because the oils have not fully dissolved into the solvent. Warm the bed to 50–60 °C first if you want the fastest, most repeatable clean, and never clean with acetone on textured PEI — it attacks the surface and accelerates exactly the wear you are trying to measure.
Most articles tell you to buy a new sheet or slather on glue stick. The real fix is almost always a 90%+ IPA wash and a 5 °C bed temperature adjustment, not a new product. A replacement textured sheet from Prusa Research, Bambu Lab, Creality, Wham Bam or BuildTak runs real money and solves nothing if the actual problem was the oil from your fingertips and a PETG bed sitting at 65 °C when it wanted 75 °C.
The right way to clean a textured PEI sheet (and the wrong way)
Cleaning is the cheapest intervention on this whole list, and it is also the one most people perform badly enough that it makes things worse. The goal is to strip the monolayer of skin oil that sits in the valleys of the texture without abrading the peaks or leaving solvent behind. Here is a protocol that survives daily use on a farm machine.
- Use 90% IPA or higher. The 70% bottle from the pharmacy is 30% water, and that water does two bad things: it slows evaporation so the sheet stays damp under the nozzle path, and it leaves dissolved minerals behind once it finally flashes off. On a black textured sheet you will see the residue as a faint grey haze after a few passes. If 99% is available at similar cost, buy that and skip the debate.
- Wipe with microfiber or a lint-free paper towel, never a cotton rag or shop towel. Cotton sheds fibers into the texture, and those fibers are coated in whatever detergent the towel was washed with. A single fresh microfiber cloth per session is cheaper than one wasted PETG print. Dedicate the cloth to the printer; do not rotate it back into kitchen duty.
- Heat the bed to 50 °C before wiping. Warm IPA dissolves oils noticeably faster than room-temperature solvent, and the residual heat drives the last film off the surface in seconds rather than minutes. Fifty is a floor, not a target. Anything above roughly 60 °C and the IPA flashes so fast you are wiping vapor, so set the bed there and wait for the thermistor to actually read it.
- Wipe in one direction, then rotate 90° and wipe again. The texture is a crosshatch, and a single-direction wipe rides over the valleys rather than through them. Two passes at right angles takes about fifteen seconds and cuts the oil load far more than scrubbing harder in one direction.
- Never use acetone on textured PEI. This is the mistake that turns a recoverable fingerprint problem into a permanent one. Acetone attacks the polyetherimide layer and the bonding chemistry that holds the texture to the spring steel. It shows up first as a cloudy patch, then as crazing, then as texture flaking off in sheets. Smooth PEI tolerates a rare acetone wipe; the textured variety does not.
- Skip dish soap and glass cleaner. Dawn leaves a surfactant film that is genuinely harder to remove than the oil you were chasing, and most glass cleaners contain ammonia or glycol ethers you do not want curing onto the sheet at 80 °C. If you insist on soap for a heavily contaminated used sheet, follow it with three IPA passes and let the bed dry at temperature for two minutes.
- Do not touch the print area after cleaning. Handle the sheet by the edges or the tab, lift it with the flex plate bends, and keep a pair of nitrile gloves near the printer if you know your hands are oily. One thumbprint on a freshly cleaned sheet is roughly one failed first layer.
The step people skip is the warm-up. Cold IPA works well enough that the print succeeds sometimes, which is exactly what makes it a bad habit: you get intermittent failures that look like a Z-offset problem and send you off adjusting hardware when the real variable was solvent temperature. Warm the bed, wipe crosshatch, take two minutes, and rule cleaning out before you touch a single Z value.
First-layer height: why the paper method fails on textured PEI
A 0.10 mm sheet of printer paper is not a thin shim in this context. Your target first-layer height on a standard 0.4 mm nozzle is 0.2 mm, so the paper occupies half the gap you are trying to dial in — and that is before you account for how hard the operator is pressing on it, or the fact that a sheet of 80 gsm office paper varies by plus or minus 0.02 mm across its own length. Two people using the paper method on the same machine will land 0.05 mm apart and both believe they are right. On a textured sheet the error compounds, because the nozzle has to press through surface peaks, so the sensation transmitted to your fingertips is a mix of paper stiffness, plate compliance and spring tension rather than a distance measurement.
A 0.10 mm feeler gauge is not more accurate than paper because it is thinner. It is more accurate because it is incompressible and has a stated thickness stamped on it, so the same reading reproduces tomorrow and next week. Slide it under the nozzle with the nozzle cold, raise Z until the blade drags with consistent friction across all four corners and the centre. That gets you within roughly one step of a usable Z-offset. It does not finish the job, because the feeler gauge sets a mechanical gap, not a squish.
The finish comes from the live-Z test, and it takes about four minutes. Slice a 20 x 20 mm single-layer square at 0.2 mm first-layer height, 0.4 mm line width, and print it. Watch the lines as they go down. If you can see plate between adjacent lines, you are too high — drop live-Z in 0.01 mm steps until the lines just merge into a continuous surface. If the surface shows raised ridges between passes, or the extruder starts clicking, you are too low — raise live-Z in 0.01 mm steps. The window you are hunting is narrow: on textured PEI the correct setting produces a matte, slightly rough bottom face with no visible gap and no visible ridge, and it typically sits 0.02–0.04 mm lower than the setting that worked on a smooth PEI sheet at the same bed temperature. Prusa Research and Bambu Lab both expose live-Z as a first-layer-only adjustment on their stock firmware, which is the right way to tune it — you want the squish without permanently shifting the rest of the print.
The texture itself is what makes textured PEI the harder surface to dial in. Peaks and valleys on a Wham Bam or BuildTak-style sheet run roughly 0.05–0.10 mm peak-to-valley, so the polymer has to fill those valleys to grip. Set your Z-offset to the same gap you used on smooth PEI and you only contact the peaks, giving you perhaps 30% of the available surface area. That is the entire mechanism behind "it worked for months and then stopped" when nothing about the sheet has actually changed — the offset drifted on a nozzle swap or a firmware update, and the margin on textured PEI is too small to absorb it.
PETG bed temperature: the 5 °C that kills adhesion
PLA is forgiving about bed temperature in a way PETG is not. Set a PLA bed 8 °C low and the part still prints, because PLA's glass transition sits near 60 °C and the extrudate stays soft long enough to press into the texture. PETG prints at 230–250 °C and needs the bed high enough to keep the first layer above its own softening range while the nozzle is still laying down adjacent lines. Drop the bed from 75 °C to 65 °C and you do not get a slightly worse first layer. You get one that skins over before the bead can flow into the 0.05 mm texture valleys, and the next pass drags it loose.
The gap between the two sheet surfaces is smaller than the gap between materials, but it is real. Smooth PEI is a flat plane, so contact is full-area the moment the bead touches down. Textured PEI asks the melt to do mechanical work — fill the valleys — and that work takes time and heat. A textured sheet at 70 °C behaves like a smooth sheet at 65 °C.
| Material | Bed temp, smooth PEI | Bed temp, textured PEI | Failure symptom below minimum |
|---|---|---|---|
| PLA | 55–60 °C | 55–65 °C | Below 50 °C: corner and edge lift within 20–40 layers |
| PETG | 70–75 °C | 70–80 °C | Below 65 °C: first layer skins before filling texture, peels on the second pass |
| ABS | 95–100 °C | 90–100 °C | Below 80 °C: warp and corner curl, often by layer 15 |
| TPU (95A) | 45–55 °C | 45–60 °C | Below 40 °C: poor bonding, bead lifts under its own tension on flex |
PETG on textured PEI at 75–80 °C is the row that matters most here, because PETG is where the 5 °C actually decides the print. Anyone running a Bambu Lab X1C or a Prusa MK4 with a textured sheet and seeing PETG first layers peel at the corners should set the bed to 80 °C and re-slice before touching Z-offset at all. The exception runs the other way: if you are printing a tall PETG part with a lot of cross-section, 80 °C on a textured sheet can push the bottom few millimetres soft enough to deform under nozzle drag, and 72–75 °C plus a 0.2 mm first layer is the better trade. PLA and TPU do not care about the sheet surface nearly as much; for those two, the texture only costs you a slightly higher first-layer height, not a temperature change.
When is it actually the sheet's fault?
Textured PEI wears. Every print cycles the sheet between roughly 20 °C and 60–80 °C, and every removal drags filament across the peaks. That abrasion is cumulative, and manufacturers put the useful life somewhere between 300 and 600 prints before texture loss starts showing up in adhesion. A sheet that held PETG at 75 °C for two years may simply be at the end of that curve, especially if you print a lot of large flat parts that need a spatula to release.
You can measure it instead of guessing. A digital caliper with a knife-edge jaw, zeroed on a flat section, reads the peak-to-valley depth across the texture. A new textured sheet from Prusa Research, Bambu Lab or Wham Bam typically measures around 0.15 mm. Once that number falls below about 0.05 mm, the surface no longer has enough relief to grip the extruded bead, and no amount of cleaning or Z-offset tuning will bring it back. Replacement is the fix, not more IPA.
The two-minute check before you buy a new one
Hold the sheet at roughly 45° under a desk lamp and look across it, not down at it. Healthy texture throws an even sparkle across the whole build area. Dull, flat-looking patches — usually in the centre where most prints land — are where the peaks have flattened. If the dull zone covers the middle third and you print mostly there, the effective life is shorter than the print count suggests.
A practical rule that saves filament: if a 90%+ IPA wash and a verified Z-offset correction fail twice in a row on the same sheet, stop diagnosing and replace it. Two failures is the point where the cost of another spool of wasted PETG exceeds the price of a new sheet. Keep the old one for PLA, which is more forgiving of a worn surface, and put the new sheet into service for PETG and anything with a large first-layer footprint.
A 10-minute fix order that works
Use this sequence when a textured PEI sheet that has held first layers for months suddenly stops. It assumes the printer still homes and levels, the filament is dry, and you have not changed nozzles or build plates. You need 90%+ isopropyl alcohol, a lint-free cloth, a 0.10 mm feeler gauge, and about ten minutes of hands-on time plus two short test prints. Everything here costs nothing until step 5.
- Wash the sheet with 90%+ IPA while it sits at 50 °C. Warm, not hot. At 50 °C the oils lift faster and the alcohol flashes off before it can smear. Wipe in one direction with a clean cloth, rotate the cloth, wipe again, and let it dry for 30 seconds. Do not use 70% drugstore alcohol; the water fraction leaves a film that kills adhesion on its own. Do not use acetone on textured PEI. It attacks the texture, and Prusa Research has warned about it for years. One minute.
- Re-slice with first-layer height at 0.2 mm and a first-layer speed of 20 mm/s or slower. If your current profile has 0.25 or 0.3 mm first layers, that alone can explain a sudden loss of grip — the extra plastic has nothing to press into. Print a 40 x 40 mm single-layer patch. Three minutes.
- If the patch lifts, drop the Z-offset 0.02 mm at a time using live-Z, and reprint the patch. Watch the lines: you want them touching with a flat top and no gaps between them. A 0.10 mm feeler gauge gets you in the ballpark on a cold machine, but live-Z is what finishes the job. Roughly five minutes.
- Still lifting? Raise bed temperature in 5 °C steps and reprint each time. PLA: start at 60 °C and stop at 65 °C. PETG: start at 75 °C and stop at 80 °C. Above 80 °C PETG gets glassy and releases on its own, so treat that as the ceiling. Two minutes per test.
- Check whether the sheet is simply worn out. Run a fingernail across the center and compare it to a corner. If the center feels noticeably smoother, or if a caliper says the texture depth has dropped by roughly 0.05 mm, the sheet is done. Textured PEI typically gives 300–600 prints before this happens, and the center wears first because that is where everything prints.
- Only now buy a sheet. Wham Bam, BuildTak, and the OEM plates from Prusa Research, Bambu Lab, and Creality all make textured PEI replacements in the $25–50 range. Match the thickness to the original, or your Z-offset will be wrong by the difference and you will be right back at step 3.
The failure mode to watch for: people skip straight to step 5 because a new sheet feels like the decisive move. It is not. Roughly seven out of ten cases in a small print farm resolve at steps 1 through 3, and the replacement sheet then fails the same way two weeks later on the same dirty surface. If steps 1 through 4 all pass and the patch still curls at the corners, that points at the sheet or at an ABL probe that has drifted — not at your slicer.
Does glue stick or hairspray fix textured PEI?
No, and the reason is mechanical. Glue stick is a release agent — it creates a water-soluble barrier that weakens the bond between polymer and plate. That is exactly what you want on smooth PEI with PETG, where over-adhesion can tear a chunk out of the sheet, but on a textured sheet the texture is already doing that job. Every layer of glue you lay down fills the valleys that give the sheet its grip, and you end up with a flatter, slipperier surface than the one Prusa Research or Wham Bam shipped you. You have spent three minutes to make the plate worse.
Hairspray is worse in a different way. It goes on as an aerosol mist of polymer and solvent, and the solvent flashes off while the polymer bakes onto the texture at 60–80 °C. Run forty or fifty prints that way and you get a hard, slightly yellowed film lodged in the grain. Warm water and dish soap will not shift it. IPA at 90%+ will lift some of it. The rest comes off with acetone, which is the one solvent you should keep away from PEI — it attacks the adhesive layer bonding the PEI film to the spring steel, and a sheet that delaminates at the corner is finished. Creality and Bambu Lab both advise against acetone on their textured plates for this reason.
There is one legitimate use of glue on textured PEI: PETG on a plate that has unusually strong grip, usually a brand-new sheet with deep texture where you are running the bed at 80 °C. If a PETG part comes off with fibres of PEI attached, a light glue-stick pass is the correct fix. That is a release problem, not an adhesion problem. If your part is lifting off the plate, glue is the wrong lever entirely.
Which brings you back to the diagnosis. If you have reached for the glue stick because a textured PEI sheet that worked for six months suddenly will not hold a first layer, the cause is almost certainly one of the four from earlier in this article — finger oils, texture wear past the ~0.05 mm depth threshold, a Z-offset that has crept, or a bed temp sitting at 70 °C when your PETG wants 80 °C. Wash with 90%+ IPA, gauge the first layer against a 0.10 mm feeler, then check the setpoint in the slicer against the filament's actual spec. Glue would have masked whichever of those it is for one more print, and then it would have failed again.
Frequently Asked Questions
Why did my textured PEI sheet suddenly stop sticking after months of perfect prints?
Fingerprint oils from handling the sheet are the most common cause, and they build up gradually until adhesion crosses a threshold and fails. PLA and PETG both leave a microscopic transfer film that IPA lifts off. Wash the plate with warm water and a few drops of unscented dish soap, rinse, dry, then wipe with 90%+ isopropyl alcohol. Bambu Lab and Prusa both recommend this routine roughly every 20-30 prints.
Can I use 70% isopropyl alcohol to clean a textured PEI sheet?
No. The remaining 30% is mostly water, which evaporates slowly and leaves dissolved oils smeared back across the texture valleys rather than lifted off. Use 90% IPA or higher, applied to a lint-free cloth, not sprayed directly onto a hot plate. Prusa's own documentation specifies 90%+ for PEI. Denatured alcohol or acetone works too, but acetone will dull the texture if used repeatedly.
What bed temperature should I use for PETG on textured PEI?
Set the bed to 70-80 °C for PETG. Below 65 °C, first-layer adhesion on textured PEI fails reliably, because the polymer cannot flow into the texture peaks before it cools. Prusa's PETG profile runs 80 °C on textured sheet, Bambu Lab's runs 70 °C. If your slicer profile is inherited from a PLA preset, that is the usual culprit. Wait two minutes after the bed reaches temperature before starting the print.
How do I know if my textured PEI sheet is worn out?
Inspect the sheet under raking light from a low angle. Shiny flattened patches where texture peaks have worn below roughly 0.05 mm indicate a spent surface. Textured PEI typically lasts 300-500 print cycles with proper handling, less with PETG or repeated scraping. If the middle of the sheet is visibly smoother than the edges, replace it. A worn sheet will not recover with cleaning.
Is the paper method good enough for setting Z-offset on textured PEI?
No. Standard 80 gsm printer paper is around 0.10 mm thick, so it sets the nozzle a full layer height too high. Use a 0.10 mm feeler gauge instead, or better, run a live-Z calibration print and adjust while the first layer is going down. On textured PEI the correct offset is typically 0.02-0.04 mm lower than on smooth PEI, because the texture peaks sit above the average surface.
Will glue stick help first layer adhesion on textured PEI?
No, and it usually makes things worse. Glue stick is a release agent: it is there to stop PETG bonding too aggressively to smooth PEI, not to add grip. On a textured sheet it fills the valleys and reduces the mechanical keying that gives the surface its grip. Clean it off with warm soapy water. If you still have adhesion problems after cleaning and correct Z-offset, check bed temperature first.