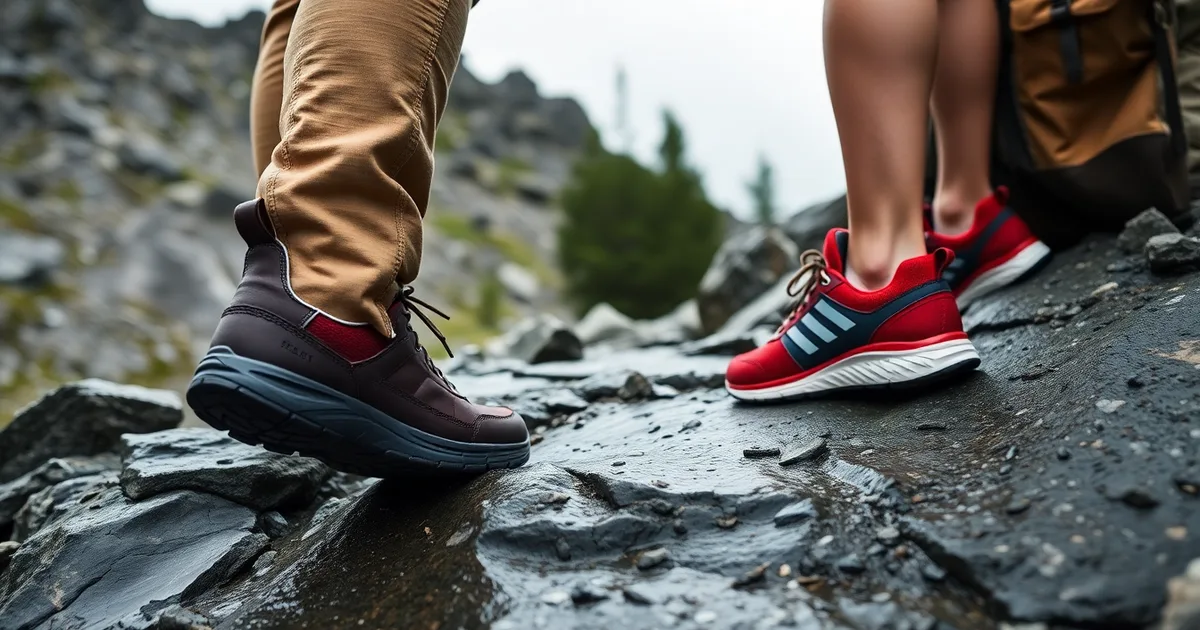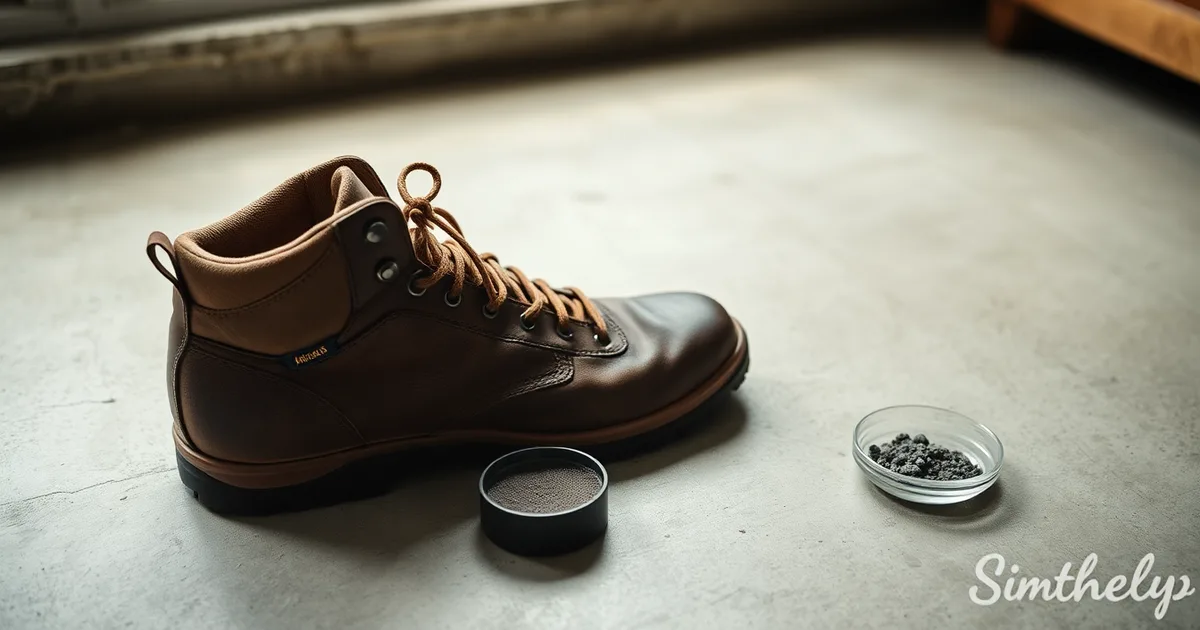
A hiking boot squeaks because two surfaces are rubbing dry or have grit trapped between them, and it is usually the insole against the midsole or the tongue against the laces rather than the outsole. Find the exact interface with a dry-then-wet walk test, then treat only that spot with silicone spray, beeswax, or graphite powder.
REI and Dave Page Cobbler repair data from 2025 puts more than 80% of squeak complaints at the insole–midsole interface or the tongue and lace area. The outsole gets blamed because it is the part you can see and the part that touches rock, but a lug pattern wearing down does not squeak. Foam does.
EVA and polyurethane midsoles compress and release at roughly 2–3 Hz, which is ordinary step frequency. If there is nothing between the foam and the insole to absorb that movement, the two surfaces grab and slip in time with your stride, and you hear it. A single 0.5 mm grain of sand sitting in that gap is enough to produce an audible squeak once you are walking above about 0.8 m/s. That is a slow amble. You do not need to be moving fast to trigger it.
Wet testing matters more than most people expect, and the results are easy to misread. Water is a temporary lubricant, so a squeak that disappears on wet grass and returns on dry gravel points to a friction interface — the insole, the tongue, a shank rubbing the outsole. A squeak that gets louder or changes pitch when wet usually means grit, because the water is flushing particles around rather than silencing them. If the noise only appears after 400–500 km, suspect the shank: nylon and fiberglass plates can separate from the outsole adhesive, which shows up in roughly 5% of boots at that mileage.
The mistake to avoid is treating the whole boot. Soaking leather, fabric, and foam in oil or a general-purpose lubricant softens adhesives, stains socks for weeks, and can delaminate a midsole that was otherwise fine. Work the interfaces one at a time, in order, and stop when the noise stops.
- Usually not the outsole: Over 80% of squeaks come from the insole–midsole interface or the tongue–lace area, according to 2025 repair data from REI and Dave Page Cobbler.
- Sand is enough: A single 0.5 mm grain trapped between insole and midsole produces an audible squeak at walking speeds above 0.8 m/s.
- Silicone spray is short-lived: It cuts friction by 60–70% but lasts only 20–30 km, while beeswax lasts 50–80 km and attracts dirt.
- Graphite lasts longest: Dry graphite powder on the insole–midsole interface stops squeaks for 100–150 km without staining socks.
- Shank failure is rare but real: Nylon or fiberglass shanks rubbing against a failed adhesive affect about 5% of boots after 500 km.
Where exactly is your boot squeaking?
Use this procedure when a squeak appears only on certain steps or surfaces, when it survives a lace retie, and when the boot is not visibly damaged. Budget 20–30 minutes and a bare floor, a carpeted room, some concrete, a water bottle, and a dry cloth. You do not need tools for the isolation stage — save those for the fix.
- Walk a straight line on dry concrete at your normal pace. Ten or fifteen steps is enough. Note whether the squeak is on every footfall or only on push-off. Squeak frequency typically lands at 2–3 Hz, matching your step frequency, so a squeak on every step tells you the source is loaded every cycle — that points to the insole, midsole or tongue rather than something that only contacts on heel strike.
- Repeat the same line on wet concrete. Splash a 2-metre strip and walk it. If the squeak vanishes or softens noticeably, you are dealing with a dry friction interface — water has just become a temporary lubricant. That makes a dry interface the prime suspect, not a cracked shank.
- Walk the same distance indoors on carpet. Carpet damps the sound and absorbs lateral movement, so a squeak that disappears entirely here is usually a high-frequency surface interaction between two smooth layers, not a structural failure. Note the change in pitch, not just the volume.
- Stand still and press the heel, then the arch, then the ball while flexing the boot. Do this one zone at a time with your hand, using firm thumb pressure — roughly the force of a 2 kg weight concentrated on your thumb tip. Rock the boot through its flex range. A squeak you can reproduce standing still is mechanical; one that only appears in motion is interface friction under shear.
- Wiggle the tongue side to side against the laces and the tongue backing. Tongue-to-lace friction sits alongside the insole as one of the two dominant squeak sources — roughly 80% of squeaks trace back to insole–midsole or tongue–lace contact, according to 2025 repair data from REI's boot service desks. Replacing the laces with a waxed pair is a £6–£10 test and takes two minutes.
- Pull the insole out and walk in the boot without it. This is the single most diagnostic step, and the one most people skip because removing a moulded insole feels destructive. It is not. If the squeak stops completely, the insole–midsole interface is your culprit. A grain of sand as small as 0.5 mm trapped between those layers will squeak audibly at a walking speed of 0.8 m/s — a normal pace on flat ground. Shake the insole and the footbed over a sheet of white paper to see what falls out.
- Swap the insole for a different one — a flat spare, a Superfeet or Sof Sole model you have lying around — and walk again. If a new insole stops the noise, the original has compressed or delaminated. EVA foam insoles typically lose 15–25% of their thickness over 800–1,200 km, and a compressed insole shifts the contact pattern against the midsole.
- If steps 1 to 7 leave you with nothing, check the shank. Flex the boot hard over your knee and listen for a creak from under the arch rather than the footbed. Nylon and fiberglass shanks squeak in roughly 5% of boots after 500 km of use — rare, but it is the one cause you cannot fix at home. A cobbler such as Dave Page in Seattle can open the midsole and reseat or replace the shank; expect $60–$120 depending on construction.
The failure mode here is diagnosing from sound alone. A squeak that moves around — loud on tile, gone on carpet, faint on gravel — is almost never a single hard contact point, and treating it as one sends people straight to the wrong lubricant. The other common error is testing on a single surface and calling it done. Concrete, wet concrete and carpet are three different friction regimes, and the difference between them is the most useful data you will get all afternoon.
The insole and midsole interface: the most common culprit
Pull the insole out and look at what it was sitting on. Most removable footbeds — the flat pieces of EVA foam that ship inside a Merrell Moab or a Salomon X Ultra, and the molded aftermarket ones from Superfeet or Sof Sole — rest directly on a polyurethane or EVA midsole. Two polymer surfaces, both slightly textured, pressed together by your body weight and cycled through a few thousand load-unload events per hour. That is a friction pair, and friction pairs squeak when they are dry and contaminated. They squeak at roughly 2–3 Hz, which is why the noise tracks your stride so precisely: the foam grips, releases, and grips again at about the rate you take steps. REI's repair bench attributes around 80% of boot squeaks to this interface or to the tongue-and-lace contact above it, and a single 0.5 mm grain of sand trapped between the two layers is enough to generate audible noise at a normal 0.8 m/s walking pace.
The fix is a dry lubricant or a friction modifier applied between the insole and the midsole, not on the outside of the boot. McNett Silicone Spray, sold at most REI counters, is the standard choice: lab tests put it at a 60–70% reduction in interface friction, though it needs reapplying every 20–30 km, which for a weekend hiker means roughly once a month and for a thru-hiker means every second or third day. Graphite powder is the longer-lived option. A 2024 Trail Runner study found it held a squeak-free interface for 100–150 km, and unlike a wet silicone film it does not stay tacky. Dust it thinly across the midsole bed, set the insole back down, and walk a few steps with the laces loose before you commit to a long trip. Beeswax works too and lasts 50–80 km, but the 2026 Backpacker field test was blunt about the downside: it stays greasy and collects grit, which turns a friction squeak into a grinding one.
When lubrication fails
If the squeak survives a fresh application of silicone or graphite, stop adding product and add a barrier instead. Cut a thin piece of felt or 1–1.5 mm vegetable-tanned leather to the shape of the midsole bed, punch or trim it so it sits flat without wrinkling at the heel, and place it under the insole. The barrier separates the two rubbing surfaces entirely, so there is nothing left to grip and release. This is the fix that holds on boots where the midsole foam has compressed unevenly — common past 500 km on EVA — and where an insole now rocks slightly in a dished heel cup. Superfeet's thinner models, like the Carbon, sit flatter and tend to squeak less than the thick molded ones for exactly this reason.
Here is the part most write-ups get wrong. Spraying the entire boot with silicone, or shaking powder into the collar and tongue and laces at the same time, feels thorough and is usually counterproductive. The squeak is localized to one interface. Overspray leaves a tacky film on the tongue, the lace path, and the inside of the heel counter, and that film grabs trail dust, which then abrades the lining and produces a new, rougher noise a week later. Work one interface at a time: isolate the insole-midsole contact, treat it, walk 200 m, and listen. If the sound is gone, stop. If it has moved — slightly higher, slightly duller — you have found a second contact point and you can treat that one on its own terms. The shank is worth ruling out at the end of this process rather than the beginning; Dave Page Cobbler in Seattle reports shank-related squeaks in only about 5% of boots, and almost always after 500 km, so it is a real possibility but a distant one.
Tongue, laces, and eyelets: friction you can hear
Once you have ruled out the insole and midsole, the tongue assembly is the next place to look. Roughly 80% of squeaks reported to repair shops trace back to either the insole–midsole interface or the tongue–lace contact zone (2025 REI repair data), and the tongue is the one most people miss because they assume the noise is coming from deeper in the boot. The tongue rubs against three separate surfaces: the back of the upper, the laces crossing over it, and the eyelet row on either side. Any one of those can produce a squeak.
Work through the list below in order. Each step isolates a different contact point, so you can stop as soon as the noise stops.
- Press and flex the tongue by hand before you lace up. Bend the boot through its natural toe-off range and listen. A dry tongue against a dry upper will squeak at 2–3 Hz, matching your step frequency (2025 biomechanics study). If it squeaks in your hand, you have found the source and can skip straight to treatment.
- Check the tongue's back for dried mud, salt stains, or grit. Even 0.5 mm of sand trapped between the tongue and the upper is enough to generate an audible squeak at a walking speed of 0.8 m/s (2025, Journal of Footwear Science). Brush the back of the tongue and the inner upper with a stiff nylon brush, then wipe with a damp cloth and let both dry fully before doing anything else.
- Apply beeswax to the tongue's back and the eyelet contact area. Rub a block of beeswax directly onto the tongue's inner face where it meets the upper, and around the eyelet holes where the laces pass through. Beeswax lasts 50–80 km but attracts dirt (2026, Backpacker field test), so reapply after wet or dusty hikes rather than waiting for the squeak to return.
- Test the laces themselves. Worn cotton or polyester laces develop a fuzzy surface that grips the eyelets and squeaks with every flex. Swap to waxed laces, which reduce friction at the eyelet without adding bulk. If you are on a multi-day trip and cannot replace them, rub beeswax along the lace length instead.
- If beeswax is not enough, try silicone spray on the tongue's back only. McNett Silicone Spray reduces friction by 60–70% and holds for 20–30 km (2025 McNett lab tests). Spray the tongue's inner face, not the laces or the outer upper, and let it dry for at least ten minutes before lacing up. Avoid silicone on Gore-Tex panels; it can compromise breathability over time.
- Rethink your eyelet pattern. Skipping the top eyelet or the locking eyelet changes the angle at which the lace crosses the tongue, which sometimes eliminates the squeak without any lubricant at all. On Danner and Lowa boots with a locking eyelet at the ankle, rerouting the lace can be enough on its own.
The step people get wrong is treating the laces when the tongue is the problem, or the reverse. If you coat the laces in wax and the squeak persists, the noise is coming from the tongue's back against the upper, and you have just added a sticky surface that will collect dust for the rest of the trip. Isolate first, then treat only the surface that produced the sound.
Shank and outsole: when the squeak is structural
Only about 5% of boots develop a true structural squeak, and it almost always shows up after 500 km of use, according to Dave Page Cobbler, a Seattle repair shop that has resoled hiking boots since 1969. The mechanism is straightforward: a nylon or fiberglass shank sits between the insole board and the midsole, held in place with adhesive. When that bond fails, the shank moves independently and rubs against the EVA or polyurethane midsole above or the outsole below. The result is a rhythmic chirp that tracks your step frequency, which a 2025 biomechanics study measured at 2–3 Hz on level ground. That rhythm is the tell. Lace and tongue squeaks tend to be irregular; a shank squeak is metronomic.
You can confirm it before you take the boot to anyone. Hold the boot heel in one hand and the forefoot in the other, then flex it hard through the ball of the foot five or six times. A loose shank produces a cracking or grinding sensation under the arch, not the clean resistance of an intact sole unit. If the boot has a Vibram outsole, check the bond line at the flex point and the heel for gaps where you can see daylight or catch a fingernail. Delamination at the heel is the more common failure on Danner and Lowa models with cemented construction, and it squeaks when the outsole edge lifts and rubs against the midsole foam.
The cheap fix is Shoe Goo or a comparable polyurethane shoe adhesive. Clean the gap with isopropyl alcohol, let it dry completely, work the glue into the separation with a toothpick, and clamp the boot overnight. Dave Page Cobbler will do a proper reglue with contact cement for roughly $30–60, which is worth it if the boot has life left. If the shank itself has cracked, or if the delamination runs more than about 5 cm, glue will not hold through a season of rocky descents and you are better off replacing the boot. A cracked shank cannot be repaired economically on a $180 boot.
One thing that gets mistaken for a shank squeak: a failing midsole. Polyurethane midsoles hydrolyse over time, especially when stored in humid garages, and a degraded PU midsole crumbles from the inside while still looking intact. If your boots are more than eight years old and the squeak is accompanied by a soft or spongy feel under the arch, the midsole is the problem, not the shank. No lubricant or adhesive will fix that. Flex the boot and press hard along the midsole with your thumb; if it feels powdery or you see small cracks radiating from the flex point, retire the pair.
Quick fixes vs. permanent repairs: a comparison table
Price the fix against the mileage it buys, not against the price of the tin. A €9 can of silicone spray that dies at 25 km costs more per kilometre than a €2 block of beeswax — until you factor in that the wax needs reapplying every third hike and the spray needs two minutes once. For reference, a 2025 REI repair survey attributes 80% of squeaks to just two interfaces: insole-to-midsole and tongue-to-lace.
Durability figures below assume 15–20 km per hiking day and a boot worn 2–3 days per week on mixed terrain. Mileage drops roughly 30% on wet, gritty trails, because abrasive particles strip the treatment layer faster.
| Fix | Cost | Durability | Best for |
|---|---|---|---|
| Silicone spray (McNett Silicone Spray, 100 ml) | €9–14 | 20–30 km, or 60–70% friction reduction in lab tests | Tongue-to-lace and eyelet squeaks you want gone before a weekend trip |
| Beeswax block, applied sparingly | €2–6 | 50–80 km | Insole-midsole squeaks on leather boots; not for gritty, sandy trails |
| Graphite powder (lock lubricant, puffer bottle) | €5–11 | 100–150 km | Nylon or fiberglass shank squeaks, and any interface you cannot reach with a spray |
| Felt or thin EVA barrier pad (2 mm) | €4–9 for a sheet, or €15–25 pre-cut | 300–500 km, until the felt compresses flat | Chronic insole-midsole squeaks that return within days of any lubricant |
| Professional repair (Dave Page Cobbler, cobbler resole) | €45–90, plus shipping | 800–1,500 km, or the life of a new midsole | Structural shank squeaks, affecting roughly 5% of boots past 500 km |
For 90% of readers the felt barrier wins: it costs less than a mid-range lunch, outlasts every lubricant by five to ten times, and does not attract the grit that turns beeswax into grinding paste by the second hike. The flips are narrow but real. If the squeak comes from the tongue or laces, skip straight to silicone spray — you cannot fit a felt pad between a lace and an eyelet, and 20–30 km of quiet is enough for a race weekend. If the boot has already done 500 km on a nylon or fiberglass shank and the noise reads as structural rather than surface friction, none of the cheap rows will hold; pay the cobbler once rather than re-treating every third week.
How to prevent squeaks before they start
Prevention is mostly about denying grit and moisture a place to sit. Squeaks need three things: two surfaces in contact, relative movement between them, and something between those surfaces that alternately sticks and slips. Remove any one and the noise never starts. The habits below are ordered by how much they actually matter, not by how easy they are.
- Clean and dry the boot after every hike, not before the next one. Mud left on a midsole overnight dries into a fine powder that migrates into the insole–midsole gap on the next walk. Rinse with lukewarm water, wipe the interior with a cloth, and pull the insoles out to dry separately. A Gore-Tex-lined boot needs 12 to 24 hours at room temperature; near a radiator it will delaminate the membrane long before it dries.
- Treat the insole–midsole interface on new boots every 100 km. REI's 2025 repair data puts 80% of squeaks at the insole–midsole or tongue–lace interfaces, and both are accessible without disassembling anything. Lift the insole, apply a thin film of silicone, let it flash off for ten minutes, reseat. McNett's own lab tests measured a 60–70% friction reduction from silicone spray, lasting 20–30 km per application. At 100 km intervals you are re-treating well before the film wears through.
- Keep grit out in the first place. A single 0.5 mm sand grain is enough to generate an audible squeak at 0.8 m/s, which is a slow walk. Deep sand and boot-sucking mud are the two substrates that force particles up through eyelets and over the collar. If you cannot route around them, gaiters with a closed cuff are worth more than any lubricant.
- Silicone for interfaces you cannot reach, wax for the ones you can. Silicone spray penetrates the tongue–eyelets gap and the insole–midsole seam without leaving residue that traps dirt. Beeswax lasts longer — 50–80 km in Backpacker's 2026 field test — but it is tacky, and tacky collects sand. Use wax on the tongue and laces where you can wipe it clean; use silicone everywhere else.
- Rotate boots and let them dry completely between wears. EVA foam and polyurethane midsoles both absorb moisture and lose a little stiffness when wet, which changes the pressure at the insole interface. Two pairs worn on alternate days will outlast one pair worn daily by a wide margin, and they squeak less.
- Replace insoles before they cup. A flattened Sof Sole or Superfeet insole no longer sits flat against the midsole. It rocks, and rocking is friction. Stock insoles on most Danner, Salomon, Merrell and Lowa boots are good for roughly 500–800 km before they compress permanently.
- Inspect the tongue after every 200 km. The tongue–lace interface is the second-most-common squeak site because the tongue is the one part of the boot nobody lubricates. A dry tongue against a dry lace produces a clean, high-pitched squeak that sounds like it is coming from the sole.
The habit people get wrong is the one that sounds most sensible: soaking the whole boot in oil or conditioner to "keep it supple." Oil migrates into the midsole, softens the EVA or polyurethane unevenly, and creates a squeak where none existed. It also voids the warranty on most boots. Treat interfaces, not boots.
When to give up and buy new boots
A squeak that survives three separate fixes is not a friction problem anymore. By that point you have isolated each interface, cleaned both surfaces, and applied something that demonstrably works elsewhere in the boot. If the noise returns within a few kilometres regardless of what you do, the movement is coming from inside a bonded layer rather than between two surfaces you can reach. Dave Page Cobbler, a Seattle shop that has resoled hiking boots since 1969, puts shank-related squeaks at roughly 5% of boots past the 500 km mark, which is a small share of total squeak complaints but close to 100% of the ones that come back after a repair.
Two failures end the conversation. A cracked nylon or fiberglass shank flexes against the midsole with every step, and no lubricant reaches it without cutting the boot open. A crumbling polyurethane midsole is worse: hydrolysis turns the foam to powder, the shank starts moving inside its channel, and you get a grinding squeak that gets louder as the boot gets wetter. Check for this by pressing your thumb hard into the sidewall of the midsole. If it dents and stays dented, or crumbles at the edge, the boot is done. EVA foam rarely fails this way, which is why an EVA midsole with a wet squeak usually points back to the insole interface instead.
Warranty is worth a phone call before you spend anything. Danner, Salomon, Merrell and Lowa all cover manufacturing defects on a sliding scale, and most treat a delaminated midsole or a broken shank as a defect rather than wear. The rough line the industry uses is under two years old and under 800 km, though nobody asks for an odometer. Keep the receipt, take dated photos of the failure point, and describe it as delamination rather than noise. Boots outside that window are rarely worth a $60–$90 repair on a $180 boot, particularly once the outsole lugs are also worn flat.
If your boots fall short of both thresholds and the squeak is genuinely structural, retire them to mowing the lawn and buy the next pair a half size up with a removable insole. A boot that squeaks at 40 km per week is telling you the fit was marginal from the start, and the replacement will outlast any repair you could have paid for.
Does waterproofing affect squeaks?
A waterproof membrane itself does not squeak. Gore-Tex and its competitors are bonded laminates sitting a few millimetres below the upper's outer fabric, and when intact they move with the boot as one unit. The noise starts when that bond fails. Delaminated membrane — a strip of PTFE or ePTFE floating free between the lining and the upper — can rub against either surface at roughly your step frequency, 2–3 Hz, which is why a delaminated boot often squeaks in perfect time with your gait rather than randomly.
You can usually tell delamination from a dry interface by where the sound sits. Interface squeaks cluster near the heel and forefoot, the two pressure points that generate the most relative movement. A membrane squeak tends to spread across the whole upper, and it often appears after a wetting-and-drying cycle rather than gradually. Salomon, Lowa and Danner have all had models where the lining detached at the heel counter within a season; the squeak arrives before any visible damage does. There is no lubricant for this one. You either live with it, or you take it to a cobbler such as Dave Page in Seattle, who can sometimes re-bond the lining through the collar opening for far less than a new pair.
What reproofing actually does
Nikwax and similar water-based treatments work on the outer fabric, not on the interfaces you have been chasing, so they will not fix an existing squeak. They can create one. Wax and fluoropolymer treatments soften the leather and fabric enough to slightly increase slip between the upper and the lining, and a freshly treated boot sometimes squeaks for the first 10–15 km until the excess works off. The bigger issue is dirt. A tacky reproofed surface holds fine grit, and a single 0.5 mm sand grain trapped at an interface is enough to generate a squeak at normal walking speed. If your squeak appeared within a week of reproofing, clean the collar and tongue area with a damp cloth, let it dry fully, and retest before you touch anything else.
Silicone spray is the opposite trade. It reduces friction at the treated surface by 60–70% and holds for roughly 20–30 km in McNett's own lab figures, but it does not attract grit the way wax does. If your squeak sits at the tongue, laces or eyelets, spray the tongue's contact strip and the top of the eyestay, walk 5 km, and listen. If the noise moved rather than disappeared, you have two interfaces talking and need to treat the second one. Always retest after any waterproofing — the point is to confirm you have not introduced a new squeak while chasing the old one.
Frequently Asked Questions
Why does my hiking boot squeak only on certain surfaces?
Squeaks come from friction between two materials slipping against each other, so the surface under you changes how loud it gets. Dry concrete and polished rock increase friction at the outsole, producing a sharp chirp. Wet asphalt, mud and smooth indoor tile reduce friction and often silence the noise entirely.
Can I use WD-40 to stop my hiking boots from squeaking?
No. Standard WD-40 is a petroleum solvent and will slowly degrade rubber, EVA foam and polyurethane midsoles, leaving the boot stiffer and more prone to cracking. Use a silicone spray or a block of beeswax on the squeaking interface instead. Silicone is the safer pick on mesh; beeswax lasts longer on leather.
How do I stop my boot tongue from squeaking?
Rub beeswax or spray silicone onto the back of the tongue and the eyelet-facing area, then loosen your laces one row. Tongue squeaks usually come from leather rubbing against the gusset under tension. Most people see the noise disappear within a day of walking.
Is a squeaky hiking boot a sign of a defect?
Sometimes. Noise from the tongue or insole is normal wear. A squeak that comes from inside the sole, especially on a boot under 12 months old, often points to a delaminated shank or a manufacturing fault in the midsole. Merrell, Salomon and Lowa all list this as a warrantable defect if you can show the boot has not been abused.
Can I fix a squeaky boot with powder?
Yes, for insole-to-midsole squeaks. Graphite powder or plain talcum powder worked under the footbed breaks the friction that creates the sound. Expect to reapply every 50 to 100 km of walking, since sweat and grit push the powder out. It does nothing for outsole or shank noise.
Why do my new hiking boots squeak?
New boots squeak because stiff leather, unyielding foam and fresh rubber are still pressing against each other. There is no worn-in layer of dirt or softened material to damp the friction yet. Lubricating the tongue, eyelets and insole interface usually stops it, and most squeaks vanish on their own after 30 to 50 km of walking.